InDesign connector
Required software
ZXPInstaller
The ZXPInstaller is a cross-platform application (macOS and Windows) that makes the installation of extensions, plug-ins and panels in the Adobe Creative Suite and Creative Cloud a simple matter.
Further information and a download link for Windows and Mac can be found on the Internet at: ZXP-Installer Download
TESSA Connect for InDesign CC (plug-in)
This extension is provided as a ZXP file and can be installed via the “ZXPInstaller”. After installation, the extension is available in InDesign and allows you direct access to all assets stored in your TESSA. You can therefore search, open, save, version and edit all assets from your TESSA directly in InDesign. You can find more information about the extension at: https://www.tessa-dam.com
Your responsible TESSA partner can provide you with the InDesign extension as a ZXP file. Alternatively, you can also contact the manufacturer directly by sending an e-mail to hello@tessa-dam.com.
Installation
Step 1: Install ZXPInstaller
Download the installer from the manufacturer’s website and install it on your computer: ZXP-Installer Download. Admin rights may be required for this. After installation, open the program by double-clicking on the corresponding icon.

(Screenshot: ZXPInstaller interface under macOS)
Step 2: Installing the extension
Install the InDesign extension by dragging and dropping the corresponding ZXP file onto the extension manager. Then follow the instructions.
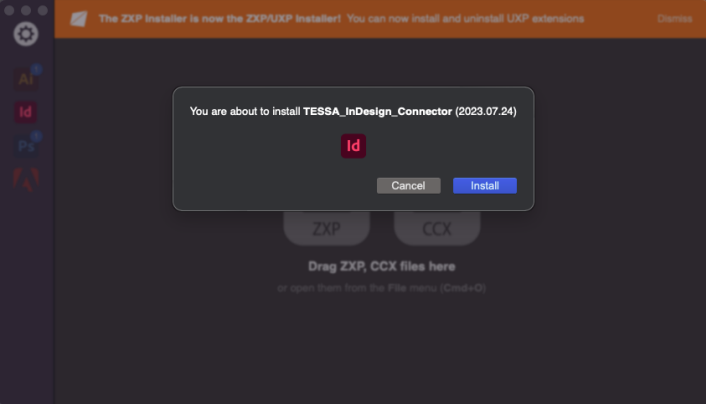
(Screenshot: Installation process)
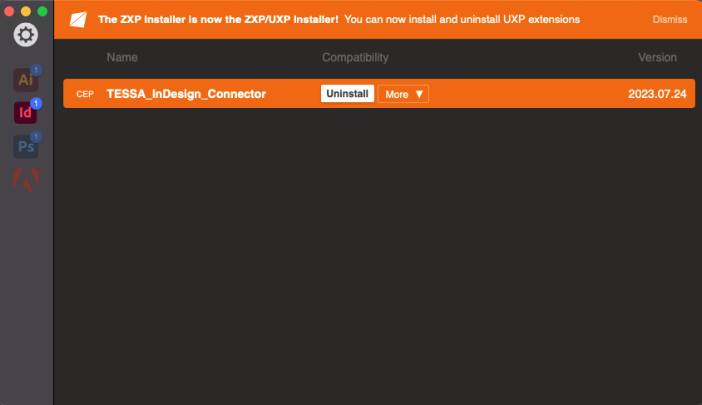
(Screenshot: Successfully completed installation process)
Step 3: Configuration of the extension
After successful installation, InDesign must be restarted in order to load the extension correctly. You will now find the entry “Tessa-DAM” under the menu item “Window -> Extensions” to open the extension.
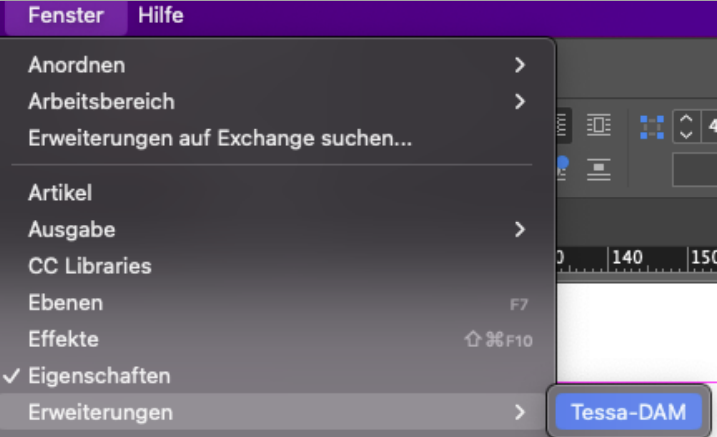
(Screenshot: Open TESSA connector)
After the TESSA connector has been opened in InDesign, it still needs to be connected to TESSA DAM. This process is only necessary once directly after installation and does not need to be repeated.
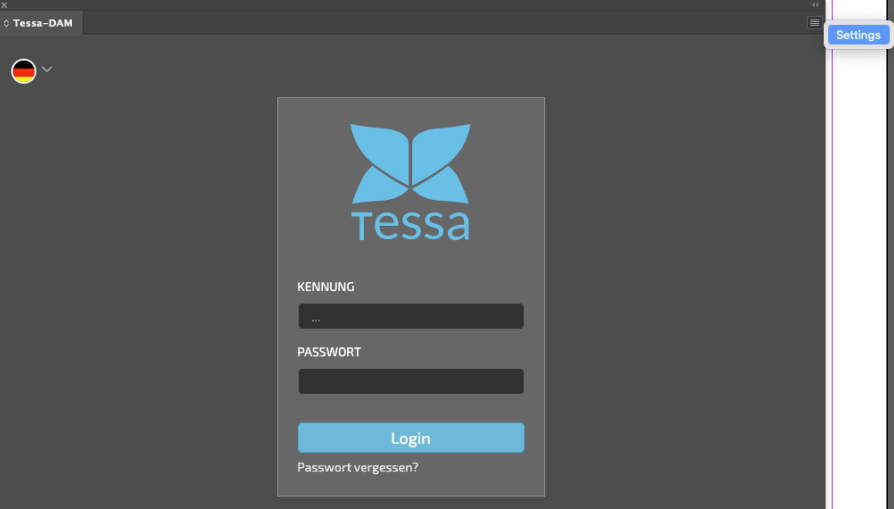
To do this, open the settings dialog via the corresponding icon at the top right of the TESSA panel.
(Screenshot: Opening the settings dialog)
The URL to your TESSA and a local directory for temporary files must now be entered in the settings dialog. You can obtain the URL to your TESSA from your responsible TESSA partner. It is recommended that you select a separate directory on your local hard disk with sufficient storage space as the local directory.
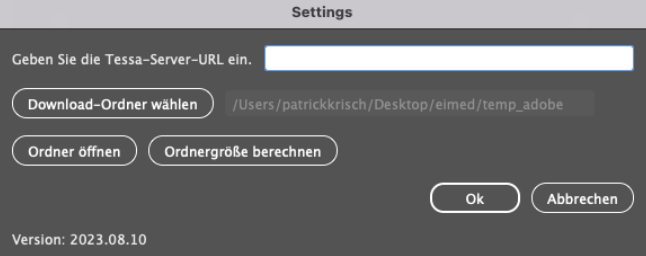
(Screenshot: The settings dialog)
Step 4: TESSA login
Once all settings have been made, you can log in to your TESSA directly in InDesign. To do this, use the same access data that you use to log in via the web browser.
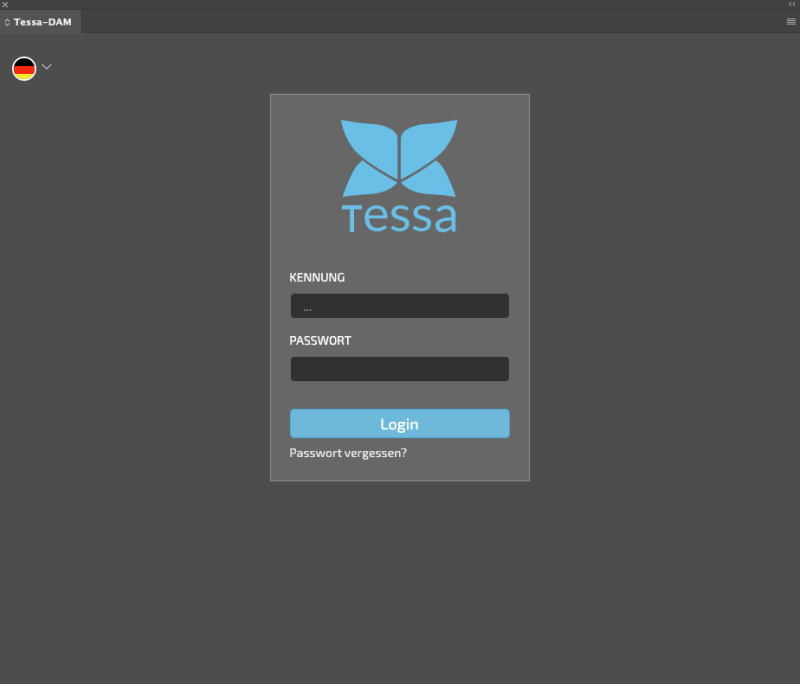
(Screenshot: Login TESSA in InDesign)
Some new functions are now available for working with TESSA in InDesign.
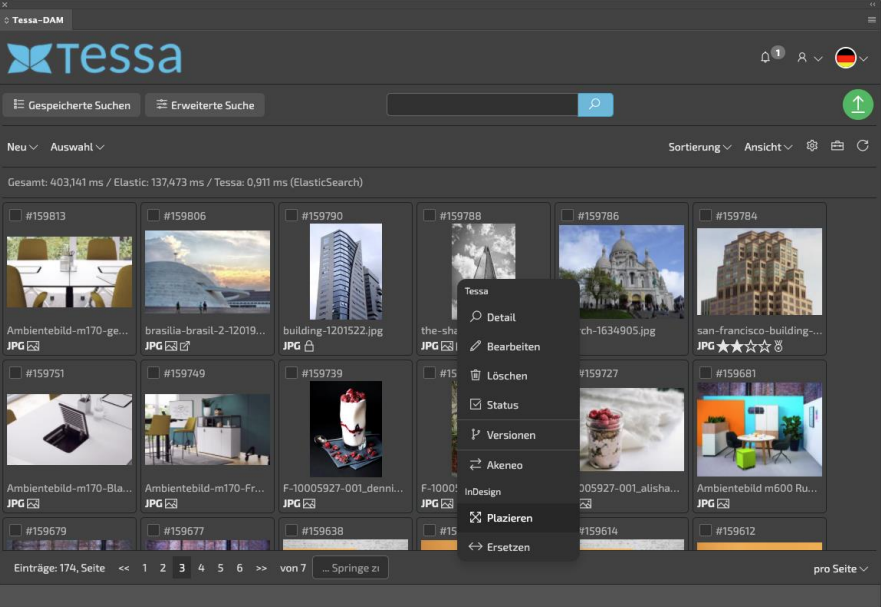
(Screenshot: TESSA editing dialog in InDesign)