Content area
The content area is the central area of TESSA. It is also divided into a header, working and footer area.
Upload
The green ‘Upload’ button takes you to the upload area where you can add further files to TESSA. You can find more information on uploading files in chapter Upload.
New
Click on the ‘New’ function to open the dialog for creating a new asset. You can read about the setting options you have here in the chapter CreatingAssets. Sometimes it makes sense to create an asset at this point if, for example, the data for a new product has already been determined but the photographer will only create an image of the product in the near future. In this way, you can already assign the asset to the photographer with the request to add the appropriate product image as soon as it is available, but at the same time assign an asset to the product. It is possible to find these so-called placeholder assets using the search function.
Selection
The ‘Selection’ tab is used to select a certain number of assets from the content area and then execute various functions with them.
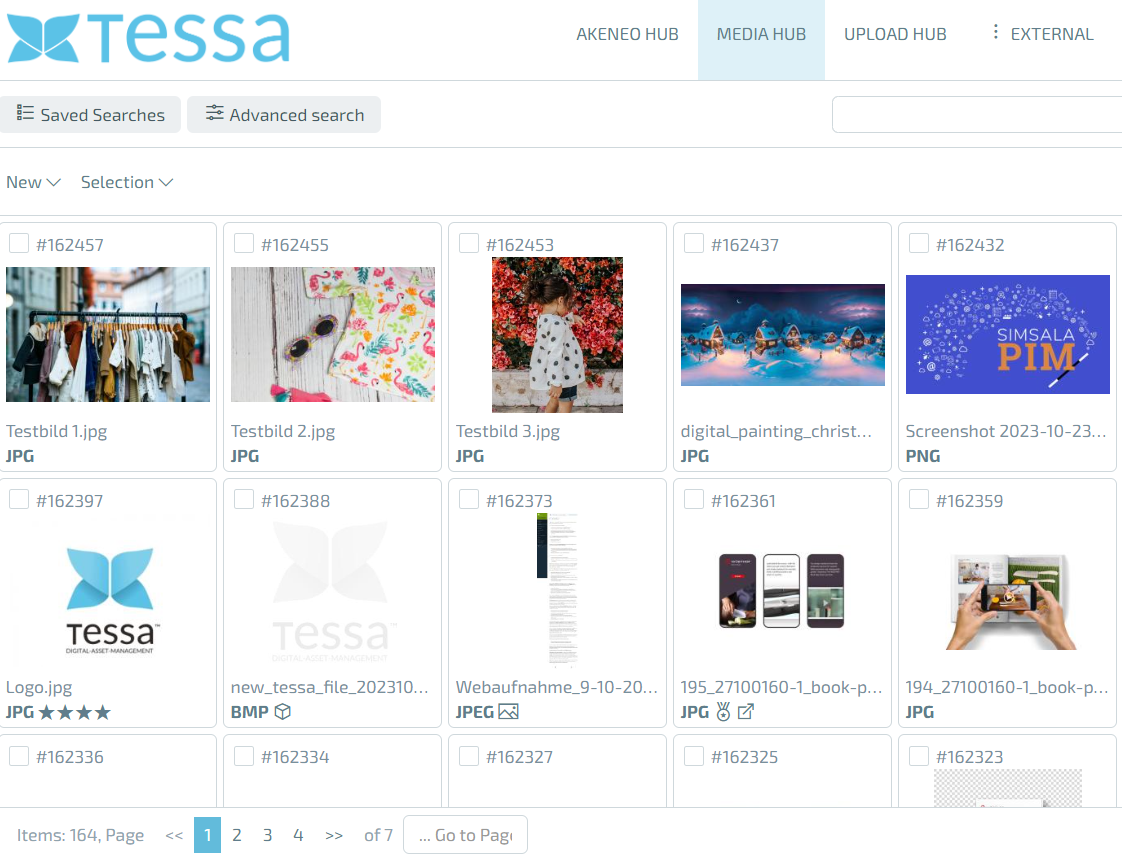
View
You can use the ‘View’ to display content areas in a way that is optimized for you. There are three different views, which offer advantages for certain use cases.
- List: The list view only shows you a small thumbnail, but you can see further details of an asset such as the file type, size or creation date and can sort the assets accordingly. This view is particularly helpful when the metadata of an asset is more important than the image it contains.
- Icons: The icon view is a compromise between the list view and the gallery view. In addition to the actual image, you also receive information such as the asset name or the asset ID, but have a significantly larger preview image than in the list view. This view is particularly useful if both the name and the image itself are relevant for the use case.
- Gallery: If the actual image is the most important criterion for you, you can switch to the gallery view and only see the thumbnails, without any possibly disturbing information in this case.
Jump to
If your search result fills more than one page of the content view, you can use the text box ’… Jump to’ to jump to any page and view the assets there. This is mainly useful if you have a large number of assets as search results.
Per page
You can use the ‘per page’ setting to select how many assets you want to display on a page in the content view. The setting you choose here mainly depends on your personal preference. As a rule of thumb, the more assets are displayed in total, the higher the per page setting makes sense.
Settings
In the settings, you can choose whether you want to check duplicates of the assets using the same asset name or an identical image. If you select ‘Show icon for name duplicates in list’, a comparison of all asset names takes place in the background and you will receive a message for each affected asset indicating that there are other assets with the same or very similar names and which ones these are.
If you select ‘Show icon for content duplicates in list’, all images are checked in the background and you will receive a message for each affected asset that further identical images have been found and which ones these are.
You can also activate both at the same time, in which case you may receive several notifications for assets if there are assets with both a similar name and an identical image.
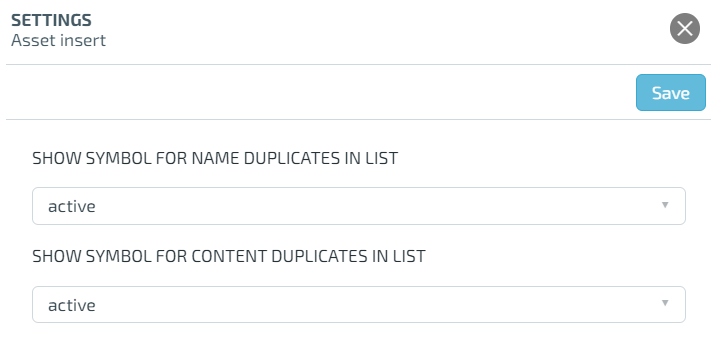
This function is very useful for quickly finding out whether there are duplicates in your TESSA and then removing them.