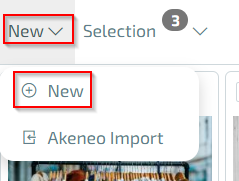
Creating assets
As soon as you have selected the ‘New’ function, a dialog opens which allows you to classify the asset and enrich it with information in several tabs and sub-items.
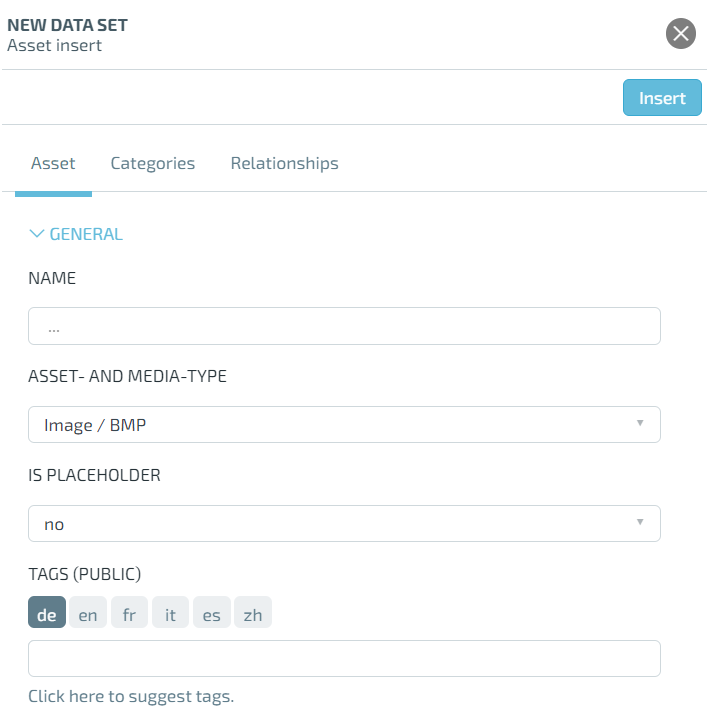
Asset
In the Asset tab, you can specify the name of the asset, which is prefilled by default with the name of the file that you are converting into an asset.
You can have the asset and media type TESSA determined yourself or specify this if you are sure, e.g. Image / JPG.
It is possible to add any number of keywords to the asset to make it easier to find later or to clearly define its use. At this point, TESSA distinguishes between public and private keywords. The difference is that private keywords can only be seen and used by you, so you can make certain images very easy to find without other users of the system being influenced or disturbed by the keywords used for this purpose. Public keywords can be used by all users of the system and should therefore be used with caution.
If the Google Vision API is linked to your TESSA, you can also have keywords suggested automatically using the ‘Click here to suggest keywords’ function. In this case, the file is sent to the Google Vision API and you receive a list of keywords that Google has automatically recognized from the file. By clicking on the delete icon, you can delete keywords that are no longer required.
Finally, in this tab you will find the settings to determine whether the asset is also available to external users or only to internal users. This is relevant if images of new product models are already to be saved in TESSA, but these may only be used publicly in a month’s time.
The ‘Is Highlight’ setting allows you to highlight particularly relevant images, e.g. the main image of a new product.
In the Workflow sub-item, you can assign assets to a workflow, which can then trigger automatic actions based on the workflow transitions. Which workflows are available in your TESSA and which actions are triggered depends on the configuration of your system and can therefore not be covered in this manual.
Categories
In the Categories tab, you can assign the new asset to any number of categories in order to control its findability and subsequent use. Depending on your authorizations, the tab shows you all the categories available in TESSA in a tree structure.
It is also possible to create a new additional category from the path of the image alongside the existing ones using the ‘Use path as category’ option. You can use the search function to quickly and easily find the categories to which you want to assign the asset.
Relationships
In TESSA you have the option of linking assets with each other if, for example, they all belong to one product. To link assets together, simply enter the name of the asset in the search field and click on it.
Insert asset
Once you have selected all the settings, all you need to do is click ‘Insert’ and your file will be inserted as an asset in the TESSA.
You can also convert several files into assets at the same time, in which case the following changes will be made in the dialog. You can no longer change the name of the assets, it is automatically derived from the file names and an article and relationship assignment is not possible. However, you can do this later at any time for the new assets. You will receive a progress overview at the end of the dialog so that you know when the new assets are available in TESSA.