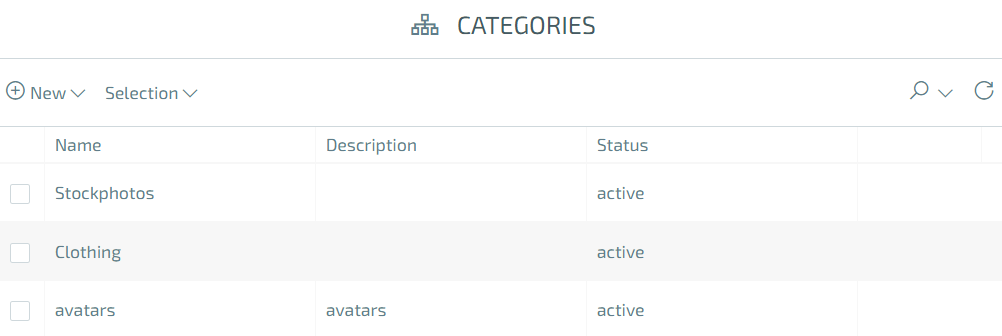
Categories
The ‘Categories’ section allows you to create and manage as many category trees as you like. You can use the categories to organize and find your assets exactly as you want them.
As soon as you open the category module, you land directly in the root folder, i.e. you get an overview of all existing category trees, see their description, if entered, and also whether a category tree is set to active or inactive.

To navigate through a category tree, you only need to click on it and the underlying nodes will be displayed. In addition, the breadcrumb navigation expands accordingly if you move down one level in the tree so that you can jump back again at any time.
You can use the context menu to view the details of a category node, edit it, delete it or jump to its subcategory.
In the ‘Details’ you will find information about the name and description of the node in the various languages, the abbreviation that is relevant for an automated assignment, as well as its status. In addition, the icon of a node, if set, and its internal sorting.
In the ‘Edit’ section, you can edit all of the above properties of a node and also specify which roles have read and write access to a particular category of node. This is very helpful, especially in larger companies, to make certain assets accessible only to a certain group of users and also prevents assets from being stored in the wrong categories.
You can create a new category node at any level by simply clicking on ‘New’, then you have the choice of creating the node manually by clicking on ‘New’ or importing it by selecting ‘Import’.
When creating manually, you must again select the information you already know such as Name, Description, * Shortcut*, the Status as well as the icon and sorting.
To import the categories, you need either a connected Akeneo (import via API) or the export of the categories from Akeneo in .CSV format.